


What are the debugging steps of the three-in-one punch feeder for thick plates?
Here is a simple and clear debugging procedure for the three-in-one thick plate feeder, which can be used directly on site. Only the core process is mentioned, so it is easy to remember and use:
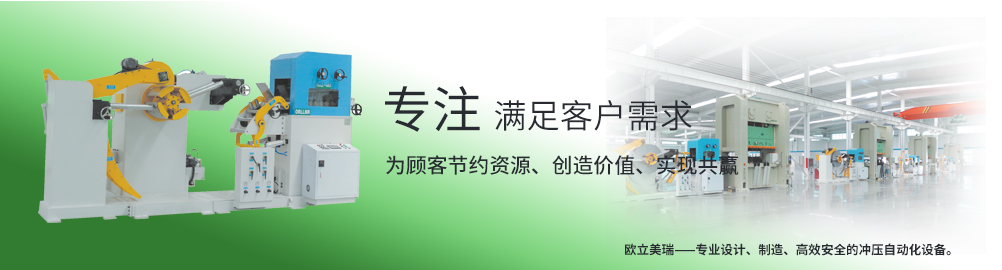
Debugging steps of thick plate three-in-one feeder
1. No-load inching debugging
Manual inching: the material rack, leveling, feeding and loosening mechanisms move in sequence.
Check for abnormal sound, jamming and jitter.
Confirm that the emergency stop and manual/automatic modes are normal.
2. Horizontal and center alignment debugging
Correct the fuselage level to ensure the front, back, left and right level.
The center line of the feeder is aligned with the center line of the punch die.
Prevent feeding deviation, scraping and unstable step.
3. Coil tension debugging
Adjust pneumatic/hydraulic tension according to plate thickness and material width.
Principle: No looseness, no tightness, no slippage and no wrinkling.
Debug the material retaining arm and the material pressing arm to prevent the material roll from moving left and right.
4. Debugging of leveling mechanism (focus on thick plate)
Adjust clearance and pressure of leveling wheel.
The thicker and harder the plate is, the higher the pressure will be.
The discharging plate is flat, free from waves and indentation.
5. Feeding parameter setting
Settings on the touch screen:
Feeding length (step)
Feeding speed
Relaxation angle/time
Test run at low speed first, and measure the actual step error.
6. Fine-tune the feeding accuracy
Step length is too long/too short: correct encoder parameters or compensation values.
Unstable feeding: check the pressure of feeding wheel, belt tightness and coupling.
Ensure that the continuous stamping error is within the allowable range.
7. Linkage debugging with punch press
Butt punch signal: start, stop, relax and synchronize signals.
Debugging and feeding are synchronized with the stroke of the punch.
Avoid too fast feeding and too slow dragging.
8. Trial production and debugging
Trial punching of actual plate
Observe:
Is the feeding straight without deviation?
Whether the board surface is flat and scratch-free.
Are the steps stable and consistent?
Gradually fine-tune the pressure, clearance and speed to the best condition.
9. Safety and finishing debugging
Check whether safety protection, photoelectricity and interlock are effective.
Fill with lubricating oil and butter
Lock parameters, formal continuous production.